
Canning jars have long been the go-to choice for preserving fruits, vegetables, sauces, and jams. But when the canning season is over, and your pantry shelves are stocked with beautiful jars of homemade goodness, what do you do with the empty jars?
Storing empty canning jars properly not only maximizes your storage space but also ensures your jars are ready for use when the next canning season rolls around. This comprehensive guide will walk you through the best ways to store your empty jars so they remain in top shape, organized, and easily accessible. Get ready to transform your storage spaces into efficient, clutter-free zones that showcase your canning prowess.
The Importance of Proper Storage
Before diving into the details, it’s essential to understand why proper storage is crucial for your canning jars. Storing jars correctly:
- Protects jars from breakage and chipping
- Keeps jars clean and free of pests, dust, and moisture
- Makes jars easily accessible and organized for future use
- Extends the lifespan of your jars, saving you money in the long run
By following the tips and tricks outlined in this guide, you’ll be well on your way to maintaining a well-organized and efficient storage system for your empty canning jars.
Choosing the Right Storage Space
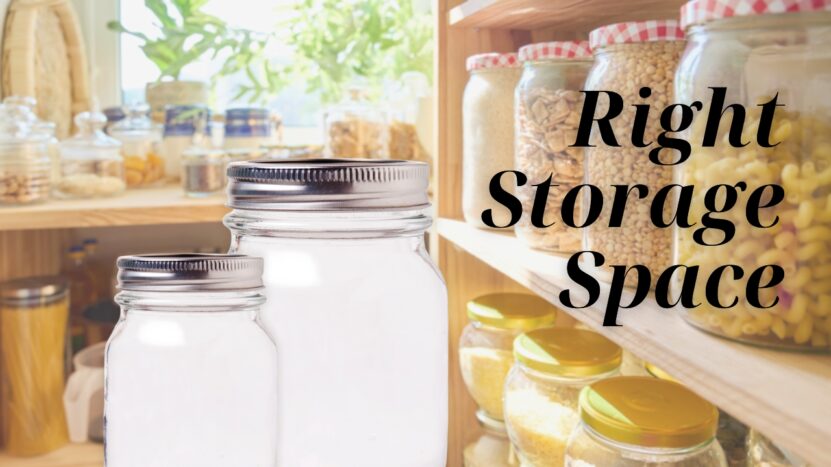
The first step in storing your empty jars is finding the perfect storage space. A suitable storage area should:
- Be cool, dark, and dry: Excessive heat or humidity can damage jars or cause metal lids to rust.
- Have sturdy, level shelves: Avoid placing jars on uneven surfaces or unstable shelves that could lead to breakage.
- Be accessible: Make sure you can easily reach and retrieve your jars when needed.
Some ideal storage spaces might include a pantry, basement, garage, or a designated cabinet in your kitchen.
Tips for Cleaning and Inspecting Jars
Before storing your jars, ensure they are thoroughly cleaned and inspected for any damage. This step helps prevent future issues when it’s time to use your jars again. Follow these tips for optimal results:
- Wash jars with hot, soapy water, or use a dishwasher if they’re dishwasher-safe.
- Inspect jars for chips, cracks, or other damage that could compromise their integrity during the canning process.
- Dry jars completely before storing them to prevent moisture buildup and mold growth.
Storing Lids and Bands Separately
While it might be tempting to store your jars with the lids and bands already in place, this can lead to a few problems:
- Trapped moisture: If any moisture is trapped inside the jar, it can promote mold growth and create a musty smell.
- Rust and corrosion: Storing metal lids and bands in contact with the jars can cause them to rust or corrode, compromising their sealing ability.
- Difficulty removing bands: If a band is left on a jar for an extended period, it can become stuck and challenging to remove.
To avoid these issues, store your lids and bands separately from your jars. Keep them in a dry, cool place, such as a pantry or a designated container. Plastic or silicone lids are also an excellent alternative to metal lids, as they don’t rust and are easy to clean.
The Best Ways to Stack and Organize Jars
Proper stacking and organization can make a significant difference in the accessibility and longevity of your canning jars. Here are some helpful tips:
- Avoid over-stacking: Stacking jars too high can put excessive pressure on the lower jars, increasing the risk of breakage or chipping. Aim for stacks of no more than three jars high, depending on the jar size.
- Use separators or dividers: To prevent jars from shifting or falling, use cardboard, foam, or plastic dividers between each jar layer. This also helps cushion the jars and reduce the risk of damage.
- Store similar jar sizes together: This will make it easier to find and access the jars you need when it’s time for canning.
- Utilize clear storage containers: For smaller jars or if space is limited, consider using clear plastic storage containers. These containers will protect your jars and make it easy to see what’s inside.
Special Considerations for Antique and Vintage Jars
Antique and vintage jars are beautiful and functional, but they may require extra care during storage. Here are a few tips to keep them in top condition:
- Be gentle: Older jars may be more fragile or have weaker seals. Handle them with care and avoid stacking them too high or tightly.
- Store them separately: To protect your antique jars from damage, store them separately from your everyday canning jars.
- Inspect for damage: As with all canning jars, inspect your antique jars for chips, cracks, and other damage before storing them.
Creating an Inventory System
An inventory system can help you keep track of your jars and make it easier to find the ones you need during the canning season. Here are some suggestions for setting up an inventory system:
- Label jars with the size and date: Use a permanent marker or adhesive labels to note the jar size and the date you last used it. This will help you track your jar usage and determine when it’s time to replace them.
- Create a jar inventory spreadsheet: Keep a digital or paper spreadsheet of your jar inventory, including the size, quantity, and location of each jar. Update it regularly to stay organized.
- Color-code lids and bands: If you have various jar sizes or types, color-coding the lids and bands can make it easier to match them with the correct jars.
Protecting Jars from Pests, Dust, and Moisture
Taking steps to protect your jars from pests, dust, and moisture can extend their lifespan and ensure they’re ready for use when you need them. Follow these tips:
- Cover jars with cloth or paper: To keep dust and pests out, cover your jars with a cloth or paper towel. This also allows air to circulate, preventing moisture buildup.
- Use airtight containers: For added protection, store your jars in airtight containers, especially if you live in a humid climate or have a pest problem.
- Store jars off the ground: Elevate your jars off the floor, especially in basements or garages where moisture and pests are more likely to be present.
Frequently Asked Questions
1. Can I store empty canning jars outside?
While it’s possible to store jars outside, it’s not recommended. Exposure to extreme temperatures, humidity, and pests can damage your jars and decrease their lifespan.
2. How long can I store empty canning jars?
Canning jars can last for many years if stored correctly. Inspect your jars for damage before each use and replace them as needed to ensure a safe and effective canning process.
3. Is it safe to store jars in the attic?
Attics can be suitable storage spaces for jars, provided they meet the criteria for a cool, dark, and dry environment. However, be aware that attics can experience significant temperature fluctuations, which could potentially damage your jars.
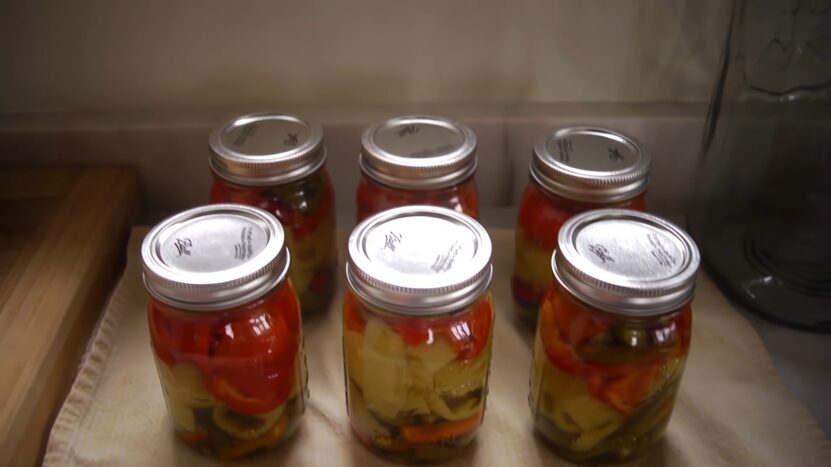
4. Can I store jars with food still in them?
It’s best to store jars with food separately from empty jars. Filled jars should be stored in a cool, dark, and dry place, ideally between 50-70°F. This ensures the preservation of the food and prevents spoilage.
5. How do I know if a jar is no longer suitable for canning?
If a jar has any chips, cracks, or signs of damage, it should not be used for canning. These defects can compromise the jar’s ability to seal properly, leading to spoilage or unsafe food. Always inspect your jars thoroughly before use.
Final Words
Proper storage of empty canning jars is essential to ensure they remain in good condition and ready for use when you need them. By following the tips and tricks outlined in this comprehensive guide, you can create an organized, efficient, and safe storage system for your jars that maximizes your space and protects your investment.