
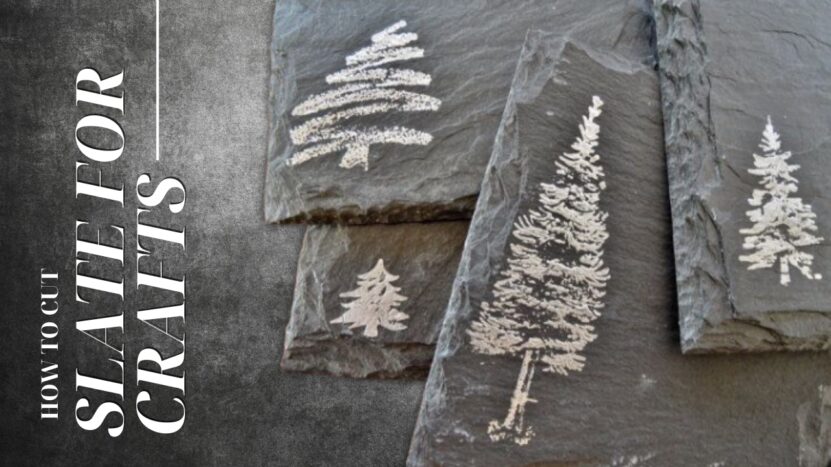
Slate is a stunning natural stone with a unique appearance and texture. It’s no wonder that many artists and DIY enthusiasts are drawn to it for creating impressive crafts and decorative pieces. From coasters and garden markers to wall art and home décor, the possibilities are endless. If you’re looking to learn how to cut slate for your next craft project, you’ve come to the right place.
In this article, we will explore the world of cutting techniques, discuss the tools you’ll need, and provide step-by-step instructions to help you master the art of cutting slate. By the end of this guide, you’ll be well-equipped to transform these raw pieces into stunning, personalized works of art.
A Brief Explanation of Slates

Slate is a metamorphic rock derived from shale, which is a type of sedimentary rock. It is formed under intense heat and pressure, causing its distinct layers and a fine-grained texture. The colors of slate can range from gray, black, and green to red, purple, and even gold, offering a wide variety of options for your craft projects.
One of the key features of slate is its ability to be split into thin, even layers, making it an ideal material for crafts. The natural cleft surface adds a unique, rustic charm to your creations, while its durability ensures they will stand the test of time.
Essential Tools You Will Need
Before you begin cutting, it’s important to gather the necessary tools. Here are the essentials you’ll need:
- Slate Cutter: A specialized tool designed to cut through it with ease. It usually has a sharp, hardened steel blade and a sturdy handle for leverage.
- Wet Saw: A power tool used for cutting various materials. It features a water-cooled diamond blade for precise, clean cuts.
- Hammer and Chisel: Traditional tools for breaking and shaping slate. Choose a masonry or brick hammer and a cold chisel with a wide, flat cutting edge.
- Angle Grinder: A handheld power tool fitted with a diamond blade, suitable for cutting and shaping slate.
- Sandpaper or Sanding Block: To smooth the edges of your cut slate pieces.
- Safety Equipment: Safety goggles, gloves, and a dust mask are crucial for protecting yourself during the cutting process.
Preparing for Cutting
Before you start cutting, it’s essential to properly prepare your slate. Follow these steps:
- Choose the Right Slate: Select a piece that is free from cracks, fissures, or other imperfections that could compromise its structural integrity.
- Clean It: Use a brush and warm, soapy water to remove any dirt or debris from the surface of the slate. Allow it to dry completely before proceeding.
- Mark Your Cuts: Use a pencil, chalk, or a wax crayon to draw your desired shapes or lines onto the slate. Be as precise as possible to ensure accurate cuts.
Cutting Techniques
There are several methods for cutting slate, depending on your tools and the desired outcome. Here are some common techniques:
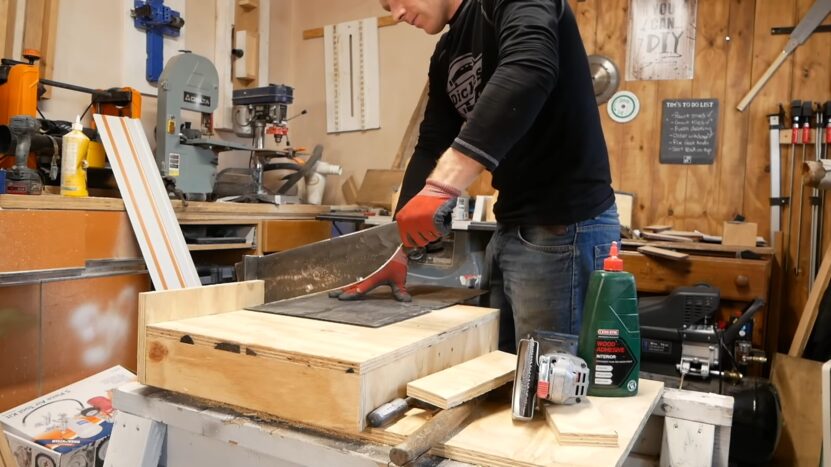
1. Using a Slate Cutter
Place the slate on a stable, flat surface, and position the cutter along the marked line. Apply steady pressure on the handle while pushing the blade across the slate in a smooth, controlled motion. It will split along the line, creating a clean, even edge.
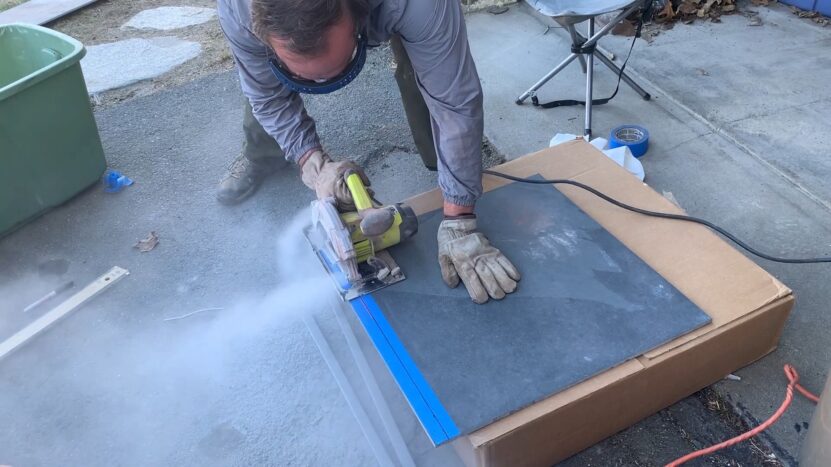
2. Using a Wet Saw
Set up the wet saw according to the manufacturer’s instructions and fill the water reservoir. Adjust the fence or guide to align the blade with the marked line on the slate. Turn on the saw and gently push the slate towards the blade, allowing the water to cool and lubricate the cut. Move the slate slowly and steadily to ensure a clean, precise cut.
3. Using a Hammer and Chisel
Position the chisel along the marked line, with the flat side of the chisel facing the waste side of the cut. Hold the chisel at a slight angle and use the hammer to tap the chisel gently, creating a shallow scoreline along the entire length of the cut. Once the scoreline is established, increase the force of your taps, causing the slate to split along the line.
4. Using an Angle Grinder
Put on your safety equipment and secure the slate on a stable, flat surface. Turn on the angle grinder and carefully guide the blade along the marked line, applying light, steady pressure. Make multiple shallow passes to minimize chipping and achieve a clean cut.
How to Cut Slate into Various Shapes
Straight Lines
Use a straight edge or ruler to draw your desired line, then cut using one of the techniques outlined above.
Circles
Draw the circle on the slate using a compass or a circular template. For best results, use a wet saw or angle grinder to carefully cut along the marked line, making multiple shallow passes to ensure a smooth curve.
Curves and Intricate Shapes
Draw the desired shape onto the slate and use an angle grinder or a wet saw with a smaller blade for more intricate cuts. Take your time and make multiple shallow passes to maintain accuracy and minimize chipping.
Safety Tips and Best Practices
Always wear appropriate safety equipment, including goggles, gloves, and a dust mask, to protect yourself from debris and dust.
- Ensure your work area is well-ventilated and well-lit to minimize the risk of accidents.
- Use a stable, flat surface for cutting, and make sure the slate is securely held in place to prevent movement during cutting.
- Familiarize yourself with your chosen cutting tool and follow the manufacturer’s safety guidelines.
- Practice your cutting technique on scrap pieces of slate before attempting your final project.
Creative Ideas and Inspiration for Crafts
- Coasters: Create a set of custom slate coasters by cutting slate into squares or circles, then adding a cork or felt backing to protect surfaces.
- Garden Markers: Cut it into small rectangles or ovals, then use a paint pen or engraving tool to label your garden plants.
- Wall Art: Create a striking piece of wall art by cutting slate into various shapes and arranging them in an eye-catching pattern. Mount the pieces on a wooden or metal frame for added stability.
- House Signs and Plaques: Design a custom house sign or plaque by cutting slate to your desired size and shape, then adding your house number, family name, or a welcome message.
- Table Centerpieces: Cut slate into long, narrow strips and arrange them in a decorative pattern to create a unique table centerpiece.
Final Words
Cutting slate for crafts is an enjoyable and rewarding process that unlocks a world of creative possibilities. By following the tips and techniques in this comprehensive guide, you’ll be well on your way to creating stunning, personalized projects that will impress your friends and family.