
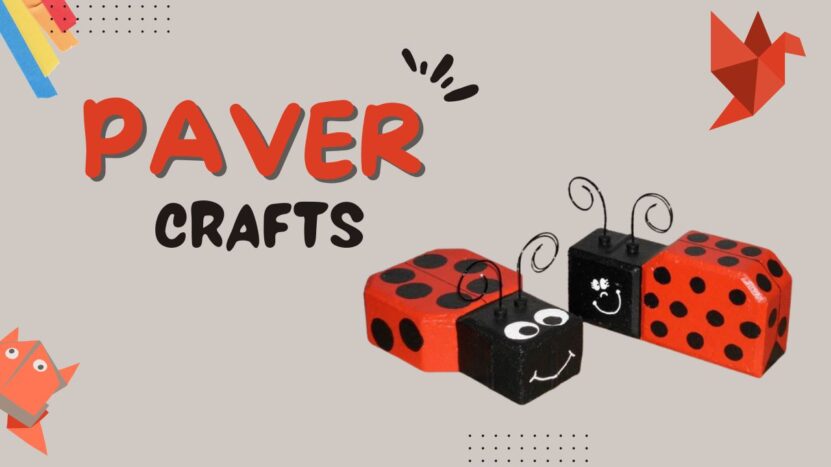
Are you looking for a creative and unique way to beautify your garden or add flair to your living space? Painting pavers for crafts is an excellent way to achieve this. Pavers, which are typically made of brick, stone, or concrete, can be transformed into stunning works of art that will enhance any outdoor or indoor space.
In this blog post, we will explore the fascinating world of paver crafts and share valuable insights on how to paint pavers for your projects. We will walk you through the necessary materials, steps, and techniques, ensuring that you create a masterpiece that will captivate all who see it.
Consider that slate offers a unique texture and rustic charm; the ability to cut it properly opens up a whole new world of creative possibilities, expanding your range of craft ideas.
The Popularity of Paver Crafts
Paver crafts have gained popularity in recent years due to their versatility, affordability, and the satisfaction of creating something beautiful from a simple building material. Homeowners and craft enthusiasts alike have embraced this trend, finding innovative ways to incorporate painted pavers into their gardens, patios, and indoor spaces.
These crafts have gained a following on social media platforms, with countless DIY enthusiasts showcasing their artistic talents and inspiring others to explore this creative medium. Paver crafts appeal to a wide range of individuals, from professional artists seeking a new canvas to novices looking for a fun and accessible hobby.
The versatility of paver crafts allows for endless possibilities and ensures that each creation is a unique expression of the artist’s imagination and skill.
How Painting Pavers Can Add a Unique Touch to Your Crafts
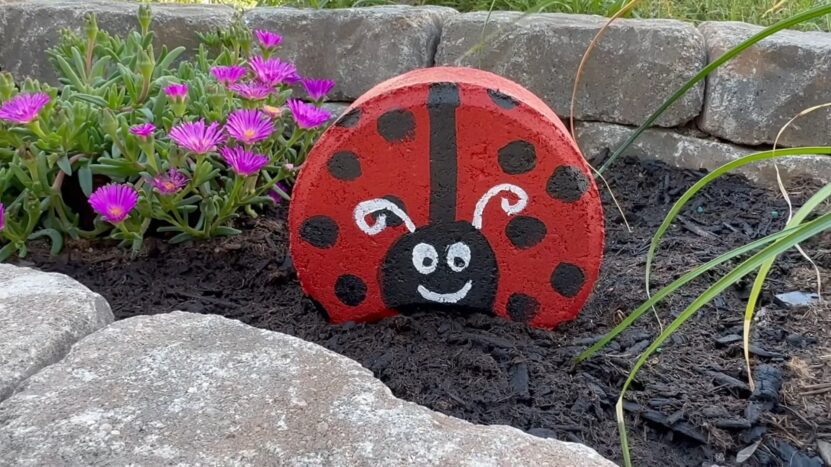
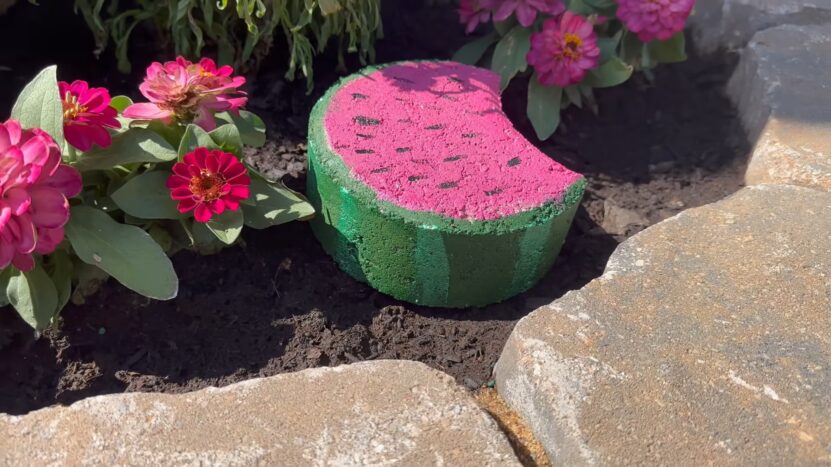
Painting pavers can elevate your crafts, adding an artistic touch that sets your project apart from others. Painted pavers can be used as decorative stepping stones in your garden, as unique bookends, or even as a stylish doorstop.
By selecting the right colors and patterns, you can customize your painted pavers to complement your existing décor or create a striking focal point that commands attention. Additionally, painting pavers allow you to repurpose materials that would otherwise be discarded, contributing to a more sustainable and eco-friendly approach to crafting.
Whether you choose to create a simple design or an elaborate masterpiece, painted pavers will undoubtedly add a touch of charm and creativity to your crafts.
A Brief Overview of the Steps Involved in Painting Pavers
Painting pavers involves several key steps to ensure a successful outcome. First, it’s essential to gather the necessary materials, such as paint, brushes, and sealant. Next, you’ll need to prepare the pavers by cleaning and drying them thoroughly.
Once the pavers are clean and dry, you can begin painting your chosen design, being sure to apply thin, even coats of paint and allowing each coat to dry completely. The final step involves adding any finishing touches, such as stencils or glitter, to enhance the design and seal the painted surface to protect it from wear and tear.
By following these steps, you’ll be well on your way to creating a beautiful and durable piece of art.
Materials Needed
Before you embark on your paver painting journey, it’s essential to gather the following materials:
- Pavers: Choose brick, stone, or concrete pavers in the desired size and shape.
- Paint: Acrylic or masonry paint is recommended for paver crafts, as they adhere well to the surface and are durable.
- Brushes: A variety of brush sizes and types, including flat and angled brushes, will help you achieve different effects.
- Primer: A quality primer will help the paint adhere better to the paver and improve its durability.
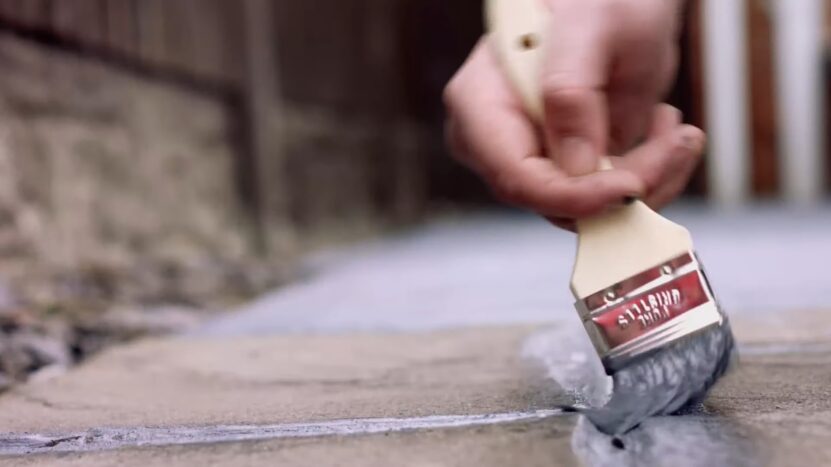
- Sealant: A clear, waterproof sealant will protect the painted surface from moisture, UV rays, and other environmental factors.
- Stencils or templates (optional): These can be used to create precise designs or patterns on the pavers.
- Additional decorative elements (optional): Glitter, beads, or other embellishments can be added to enhance the design.
- Cleaning supplies: A brush or sponge, mild detergent, and water are needed to clean the pavers before painting.
- Drop cloth or newspaper: To protect your workspace from paint spills and drips.
The Purpose of Each Material
Each material plays a crucial role in the paver painting process. Pavers serve as the foundation for your project, while the paint, brushes, and primer contribute to the creation of your design. The paint should be specifically formulated for use on brick, stone, or concrete to ensure proper adhesion and durability.
Brushes in various sizes and shapes enable you to create intricate details and bold strokes alike. Primer is essential for improving paint adhesion and enhancing the overall durability of the finished piece. A sealant protects your artwork from the elements, ensuring it remains vibrant and intact for years to come.
Stencils or templates can be used to create crisp, professional-looking designs, while additional decorative elements like glitter or beads add a touch of glamour and personalization.
Cleaning supplies ensure that your pavers are free of dirt and debris, providing a clean surface for the paint to adhere to. Finally, a drop cloth or newspaper protects your workspace from any accidental spills or drips during the painting process.
Preparation Process
Before you can begin, it’s crucial to properly clean and prepare pavers. Start by removing any dirt, dust, or debris from the surface using a stiff brush or sponge and a mild detergent.
Scrub the pavers thoroughly, paying special attention to any crevices or textured areas where dirt may be trapped. Once the pavers are clean, rinse them with water to remove any remaining detergent and allow them to air dry completely.
This step is crucial, as any residual moisture can negatively affect the paint’s adhesion and the overall durability of the finished piece. If your pavers are particularly porous or have a rough surface, you may also consider applying a primer to improve paint adhesion and create a smoother canvas for your design.
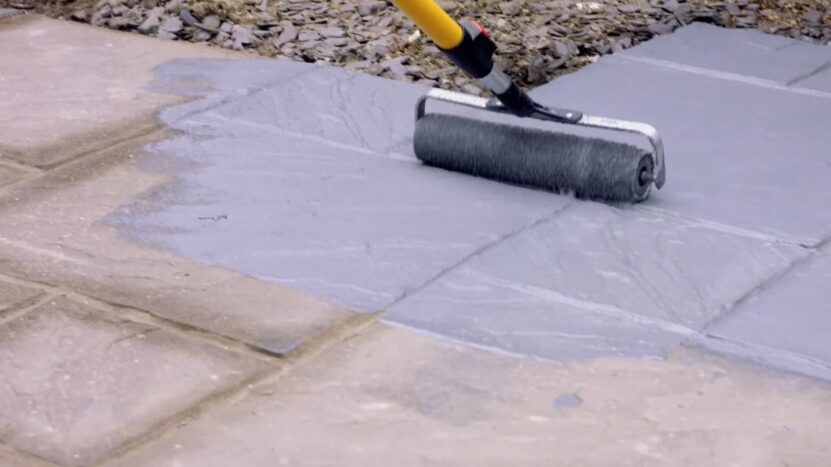
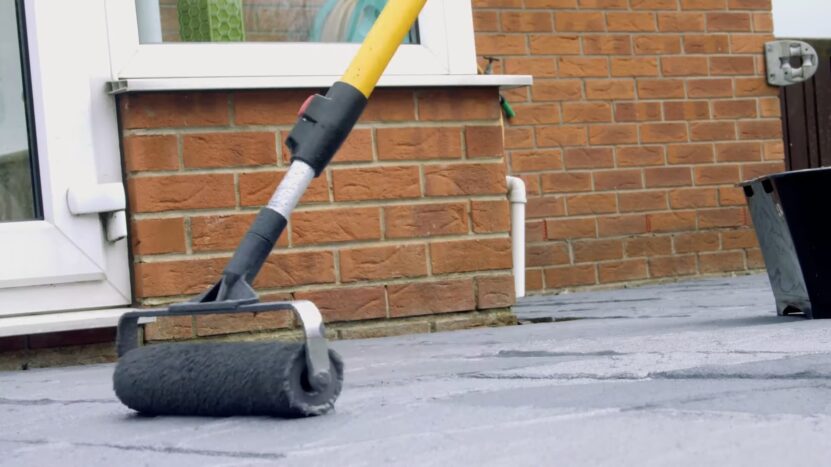
Painting the Pavers
With everything clean and dry, you can now begin the exciting process of painting your design. Follow these step-by-step instructions to ensure a successful outcome:
- If using a stencil or template, secure it to the paver using painter’s tape or adhesive spray.
- Apply a thin, even coat of paint using the appropriate brush for your design.
- Allow the paint to dry completely before applying additional coats or adding new colors.
- Repeat the process, building up layers of paint to achieve your desired effect.
- Once your design is complete and the paint is fully dry, carefully remove any stencils or templates.
- Apply any additional decorative elements, such as glitter or beads, using a clear adhesive.
The Best Types of Paints to Use
The best types of paint for this particular purpose are acrylic and masonry paints, as they are specifically formulated to adhere to brick, stone, and concrete surfaces. These paints are water-resistant and durable, ensuring that your painted pavers will withstand the test of time.
When selecting paint for your project, choose high-quality products that offer excellent coverage and color vibrancy. Additionally, opt for paint that is UV-resistant to protect your artwork from fading due to sun exposure.
While acrylic and masonry paints are the most popular choices for paver crafts, you can also experiment with other types of paint, such as latex or oil-based paints, as long as they are suitable for use on brick, stone, or concrete surfaces.
How to Apply the Paint in Thin, Even Coats
Applying thin, even coats of paint is essential for achieving a professional-looking finish on your pavers. To accomplish this, follow these tips:
- Select the appropriate brush for your design. Flat brushes are ideal for large areas, while angled brushes are perfect for details and edges.
- Dip the brush into the paint, ensuring that you don’t overload it with too much paint.
- Gently tap the brush against the side of the paint container to remove any excess paint.
- Apply the paint to the paver using smooth, even strokes. Avoid pressing too hard on the brush, as this can cause the paint to clump or streak.
- If necessary, use a smaller brush to reach tight spaces or add intricate details.
- Allow the paint to dry completely before applying additional coats. This will prevent the colors from mixing or becoming muddy.
The Importance of Allowing the Paint to Dry Completely
Allowing the paint to dry completely between coats is crucial for several reasons. First, it ensures that the colors remain vibrant and do not become muddy or mixed. Second, it allows the paint to adhere properly to the paver, resulting in a more durable and long-lasting finish.
Finally, waiting for the paint to dry prevents streaks and brush marks, resulting in a smoother, more professional appearance.
To determine if the paint is dry, gently touch the surface with your fingertip. If the paint feels tacky or comes off on your finger, it is not yet dry and requires additional drying time.
The drying time can vary depending on the type of paint, the thickness of the coat, and the humidity and temperature of your workspace. Always follow the manufacturer’s recommended drying times to ensure the best results.
Adding Finishing Touches
Adding finishing touches to your painted pavers can elevate your design and create a truly unique and captivating piece of art. Consider these ideas for additional decoration:
- Stenciling: Use stencils to add patterns, words, or images to your paver. Simply place the stencil on the painted surface and apply a thin layer of paint using a sponge or stencil brush.
- Glitter: Add a touch of sparkle by sprinkling glitter onto wet paint or applying it with a clear adhesive once the paint is dry.
- Beads, gems, or mosaic tiles: Create a dazzling effect by affixing beads, gems, or mosaic tiles to your paver using a strong adhesive.
- Texturing techniques: Experiment with different texturing techniques, such as sponge painting or dry brushing, to add depth and interest to your design.
Final Words
Painting pavers for crafts is an enjoyable and rewarding way to create stunning works of art that can be enjoyed both indoors and outdoors. By following the steps and techniques outlined in this blog post, you can transform ordinary brick, stone, or concrete pavers into eye-catching masterpieces that will captivate your friends and family.
The versatility of paver crafts ensures that the possibilities are limited only by your imagination, and each project offers a unique opportunity for self-expression and creativity. So, gather your materials, unleash your inner artist, and embark on this colorful adventure.